Final Video
Nov 13, 2017
Once all f the composting was done I using the student version of nuke (resolution limitations) I rendered out the video and here is the link.
Time for Nuke - Issue with reflections
Oct 18, 2017
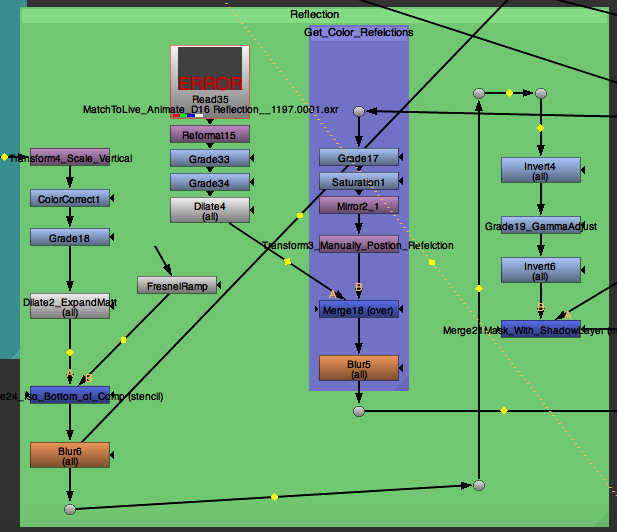
I had to do a bit of research when it came time for compositing in Nuke. I'm mainly an after effects guy, but this project required me to use nuke so I decided give it a try. Using the render layers made composting very easy as I was able to grade each light and then merge it with the other layers to get the desired effect. Desired effect meaning, Brighter highlights on the bottle, to better match the reference image, or to help smooth the ground and contact shadows. However, I was having a lot of issues with getting the color of reflections. Because I was in a time crunch, I had to fake the reflection pass a bit because I never created one for the shadows, so I used pieces of the scene to recreate to the shadow reflections.
The image for my blog post shows my workflow
First I took the initial BG image and colored graded it and darken it.
Then I mirrored the image over and manually placed it where the reflection would be.
Then I blurred it and merged it back over into the scene.
The I used the shadow pass I created as a mask to isolate just exactly where I wanted the reflections to be .
Done with maya
Oct 17, 2017
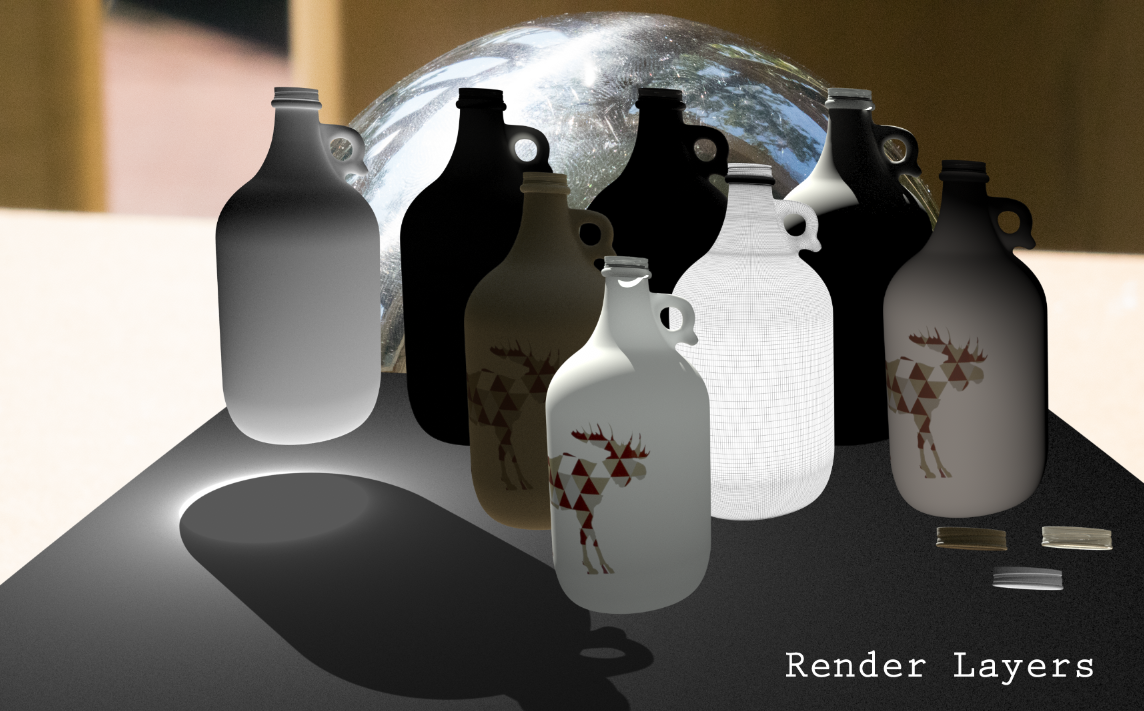
This is what my render looked like out of maya, in regard to the lighting and I rendered out many different render passes using render layers. With all of these I will take my bottle into Nuke for final composting.
My layers included
Bottle_Ambient
Bottle_Bounce Light
Bottle_Fill Light
Bottle_HDR
Bottle_Key Light
Bottle_KeyLight with BackLight
Bottle_Rim Light
Bottle_Rim Light Bounce
Cap_Color
Cap_Occlusion
Floor_Ambient
Floor_Bottle_Shadow
WireFrame
Texture Match
Oct 17, 2017
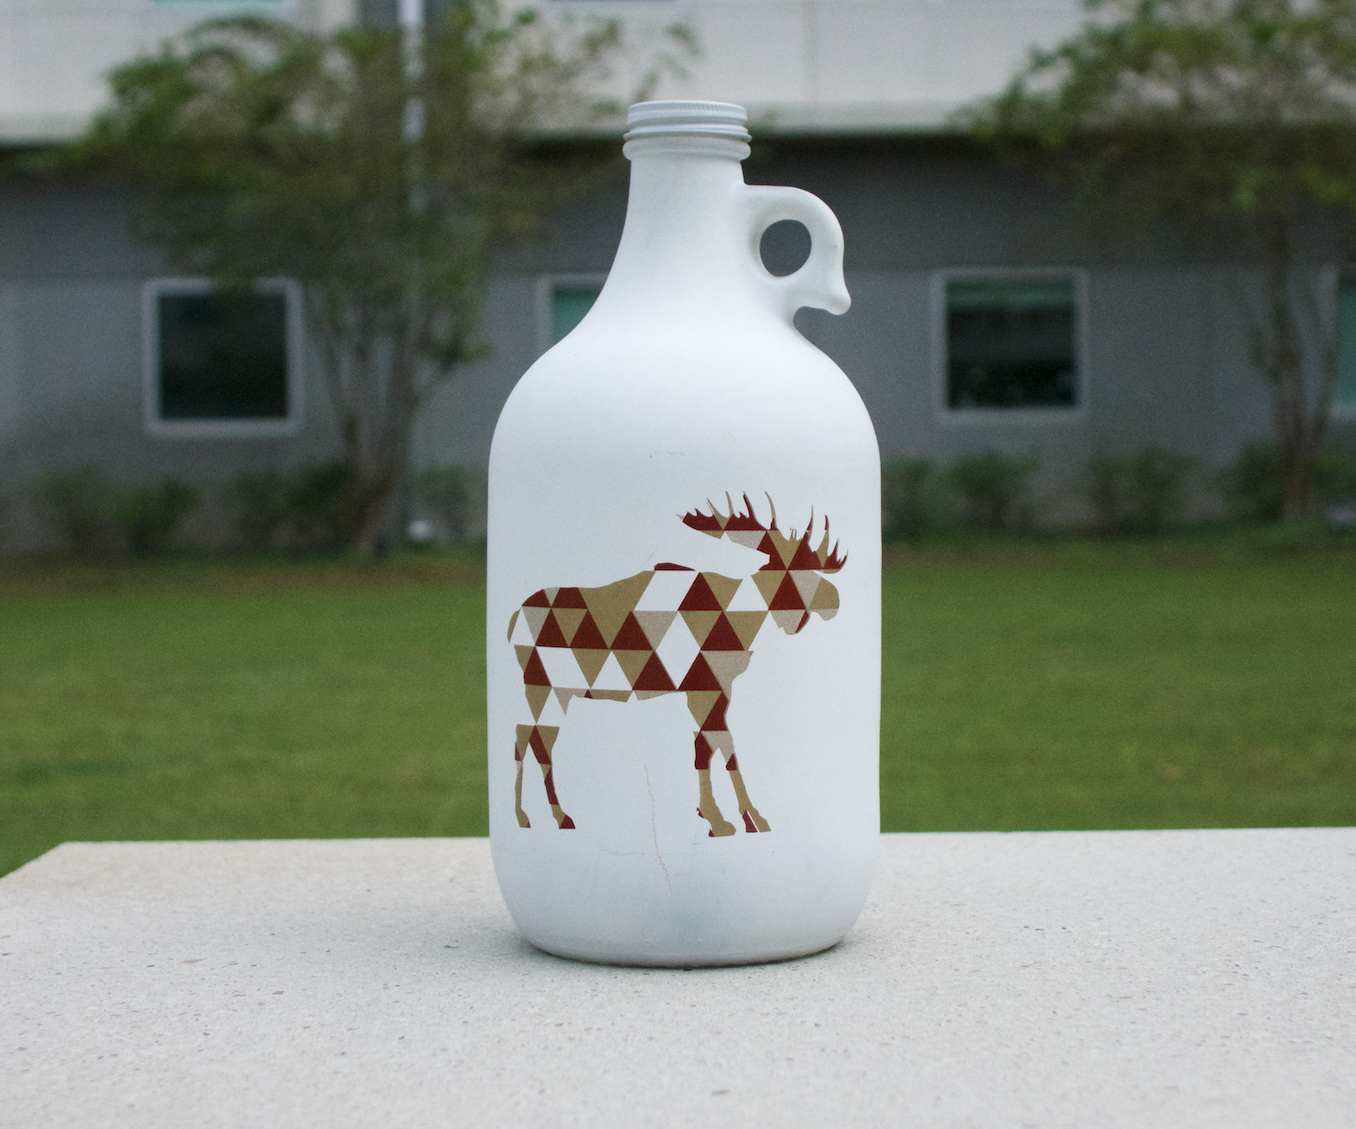
So as I said in a previous post texting the bottle was actually the easiest part of the assignment. Creating the moose and bottle texture was very easy due to the fact I had a picture of it from multiple angles. I brought in a few into photoshop and combine them to make the texture I needed. On the day I chose to shoot the bottle for photogrammetry the lighting was very overcast, which was perfect because it decreased the amount of editing I needed to do for on the texture in terms of de lighting it.
Time for Houdini
Oct 12, 2017
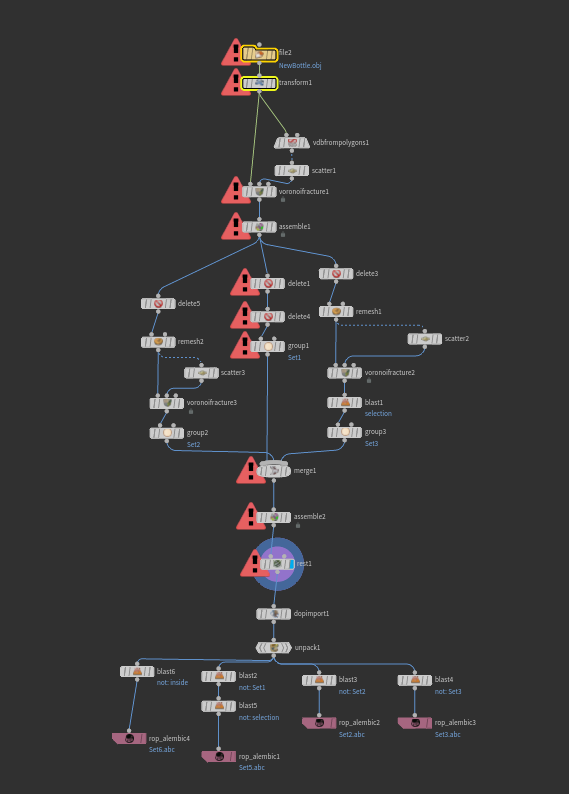
Part of the assignment, was to make the object move once it has been established in the scene. Since this term I have been taking an extra class at Rebel way, I learned a few tequilas which I could use to shatter the bottle. I decided to try my hand at destruction for the first time. In the image you can see my Houdini noise tree.
Essentially what I did was import my bottle obj and then convert it to a volume. From there I used the Voroni Fracture node to create the first and secondary fractures and then exported the shatter in a few different parts. The exterior and interior of both the cap and bottle.
UV ing proved a bit difficult to trouble shoot at first because on some of my uvs were being exported and others we not but I found using a rest node allowed me to keep my UVs at export.
Step Two- Lighting
Oct 10, 2017
My scene contains 4 lights total.
Light one is the key light that is mimicking the the sunlight of the original scene.
Light two a small rim light that mainly effects the handle of the bottle to give it the needed highlights
Light three is a fill light that hits the bottle to give it the subtle highlight.
Light four is the HDR that I created for the project.
Once it became render time, I exported a separate AOV for each light, as well as a render layer for the bottle effected by each light, which allowed me better control for editing in Nuke.
Setting up the scene
Oct 10, 2017
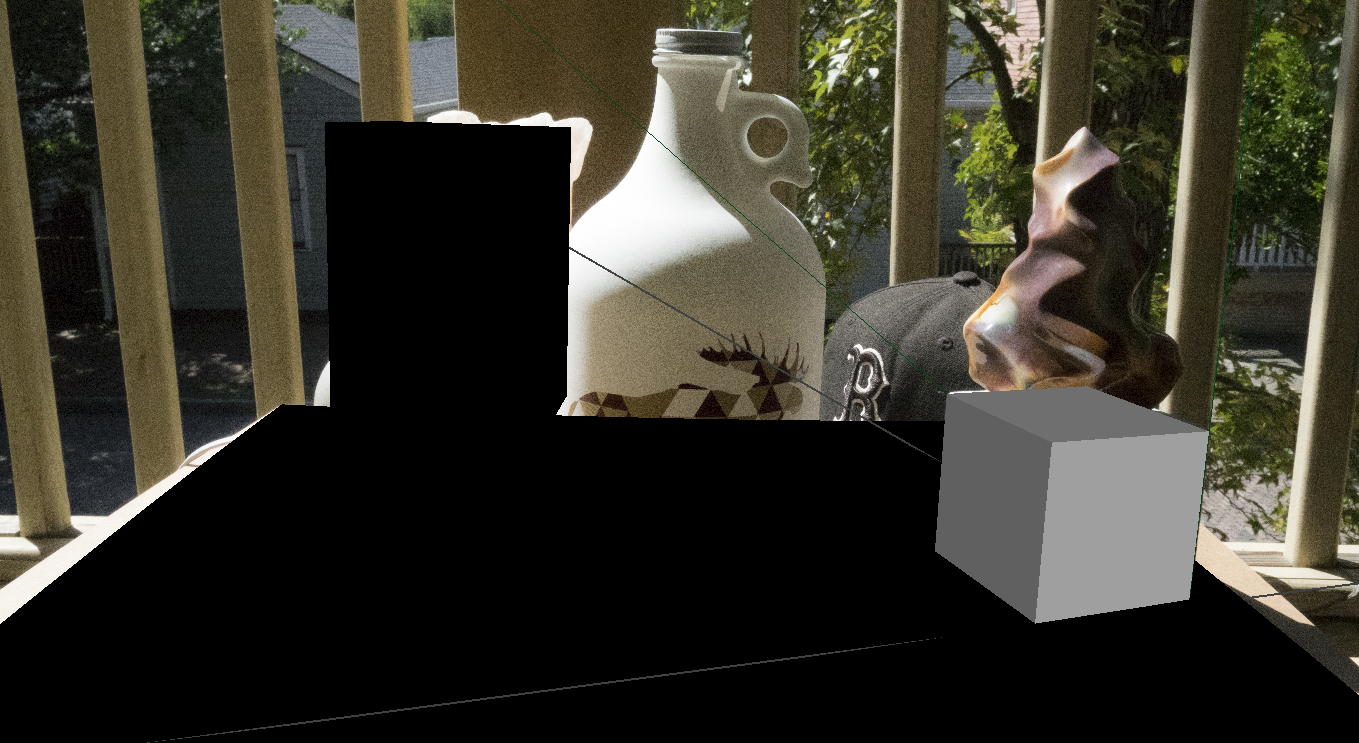
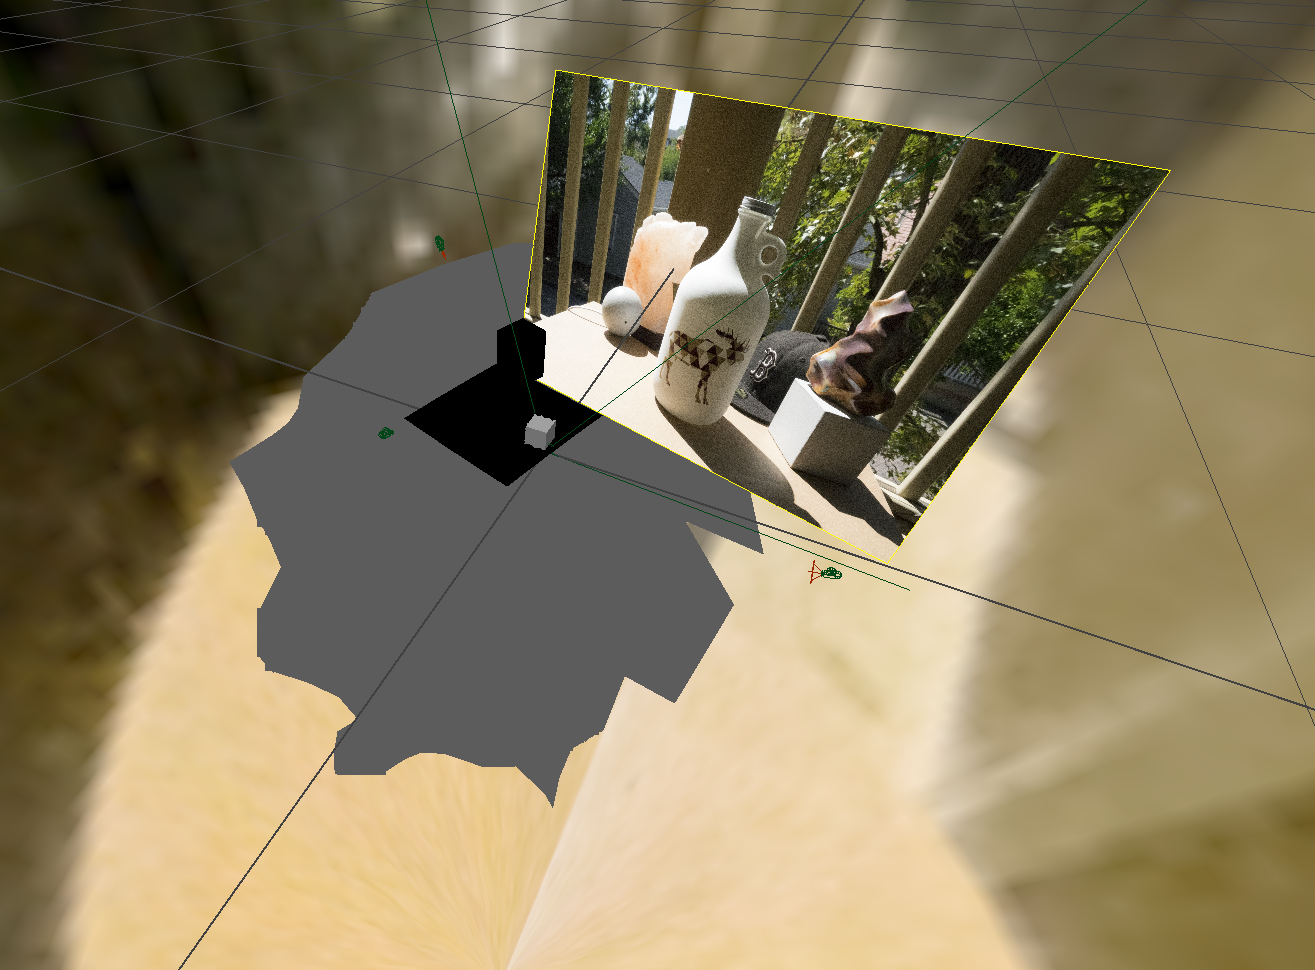
Once maya was open the first thing to do was set up the camera.
Using the the original photo as reference I use it to figure out the correct camera and focal length settings to align the geometry.
Then once all the "test geometry" was lace into the scene, I then applied a surface shader with a projection file setting to each of the objects so I could get a bounce light of each of them. This helped for getting the subtle color bounces from other parts of the scene.
Modeling
Oct 08, 2017
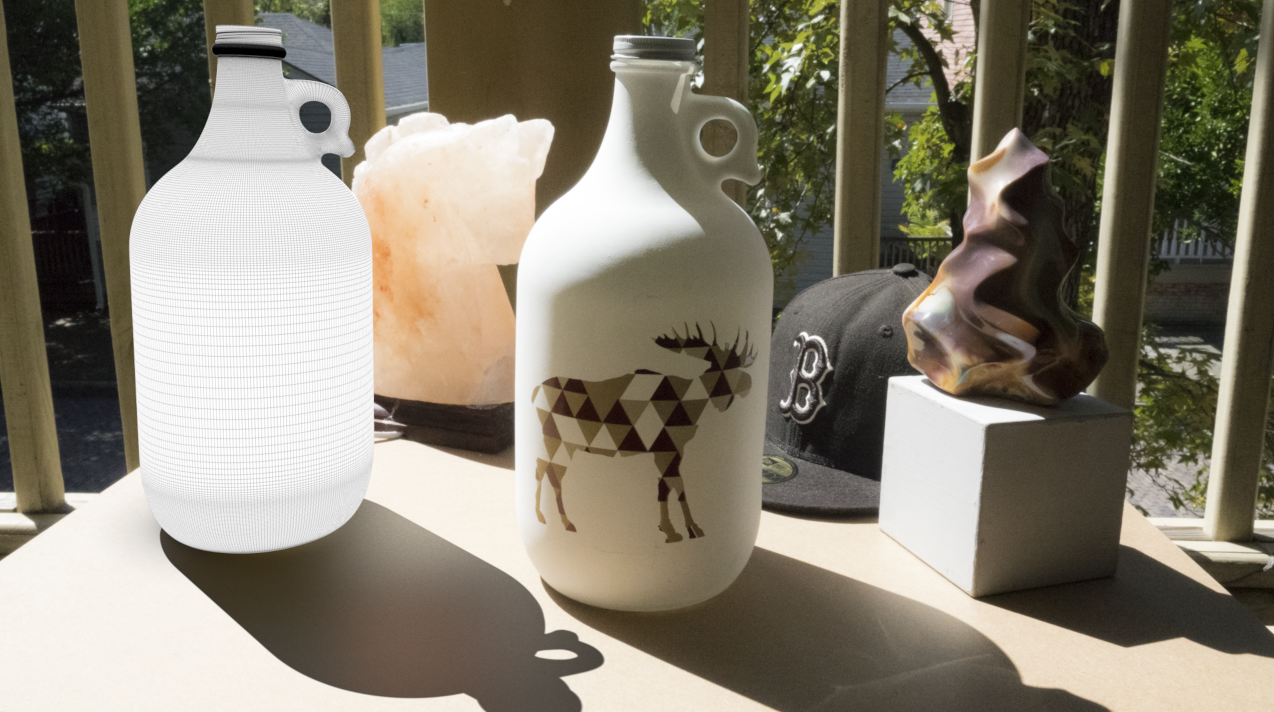
To create the bottle I originally tried to use photogrammetry to digitally scan the bottle into my scene. However do the constant white color of the bottle, photogrammetry proved unsuccessful because there was not enough color variation to create the point cloud needed. However, having all the angles of the bottle did prove useful for texturing the bottle. The bottle was box molded in maya.
HDRI
Oct 02, 2017
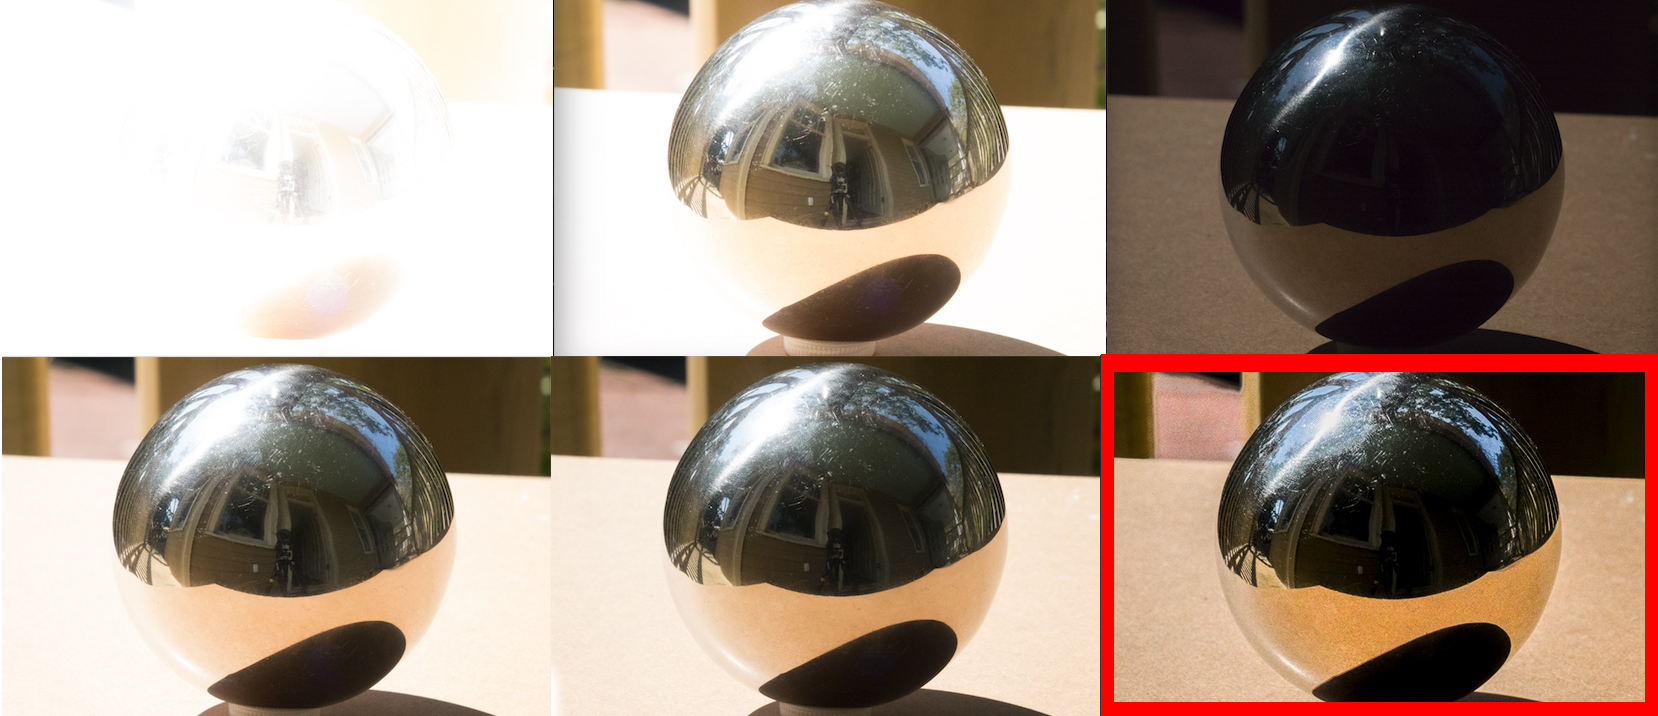
To make sure the I had an extra source of lighting in the scene I created my own HDR from taking a photo of a meatball at several different exposures and then used photoshop t combine them into an HDR image.
A tutorial to this work flow can be found here
https://facultypages.scad.edu/~kwitte/documents/HDRI/How_To_Shoot_Chrome_Ball.pdf
Step One_ Make the Scene
Sep 29, 2017
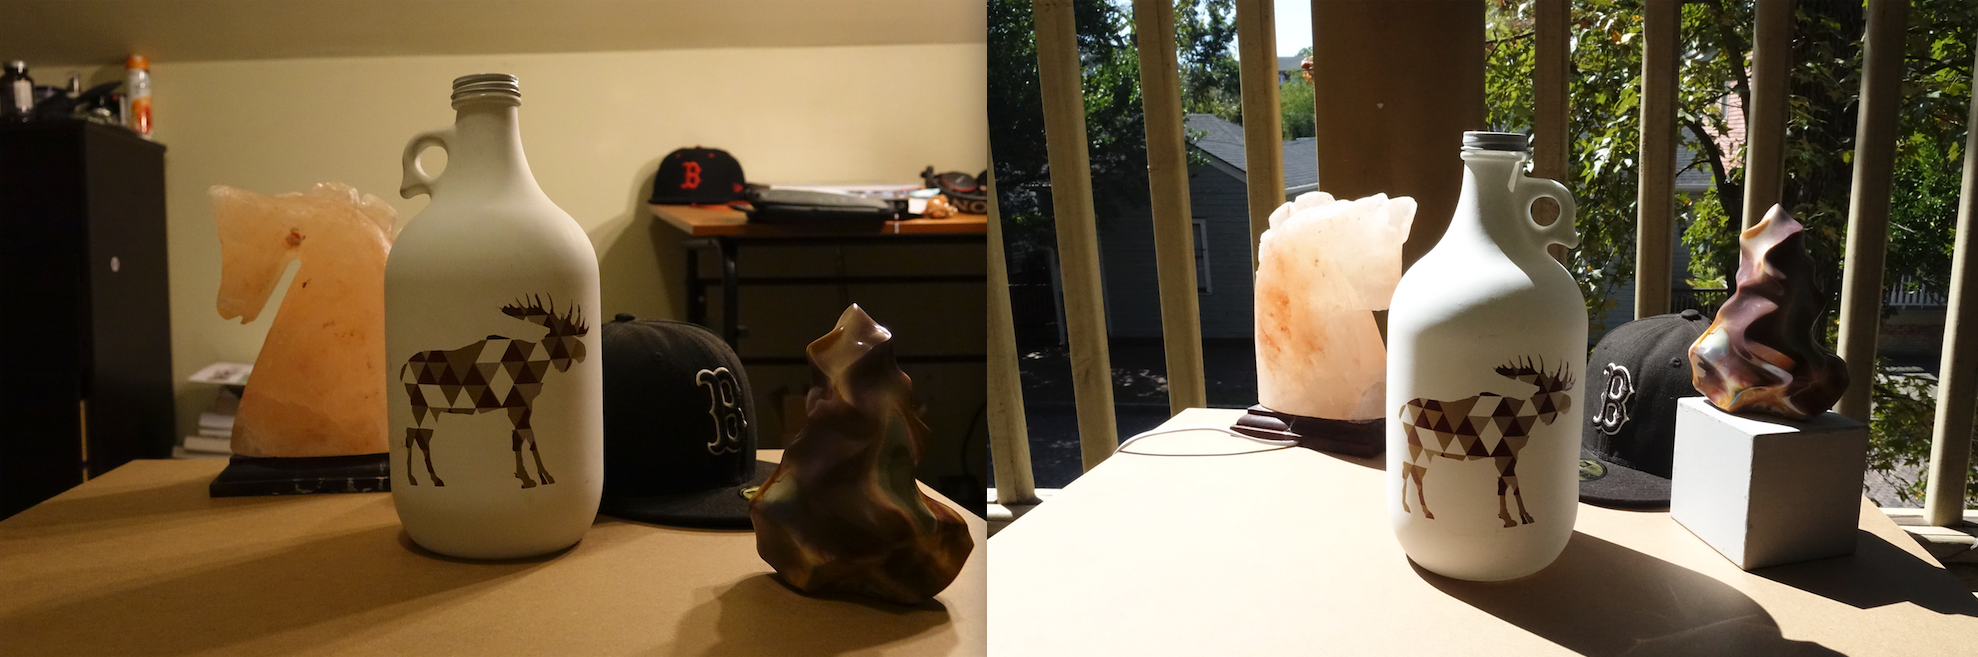
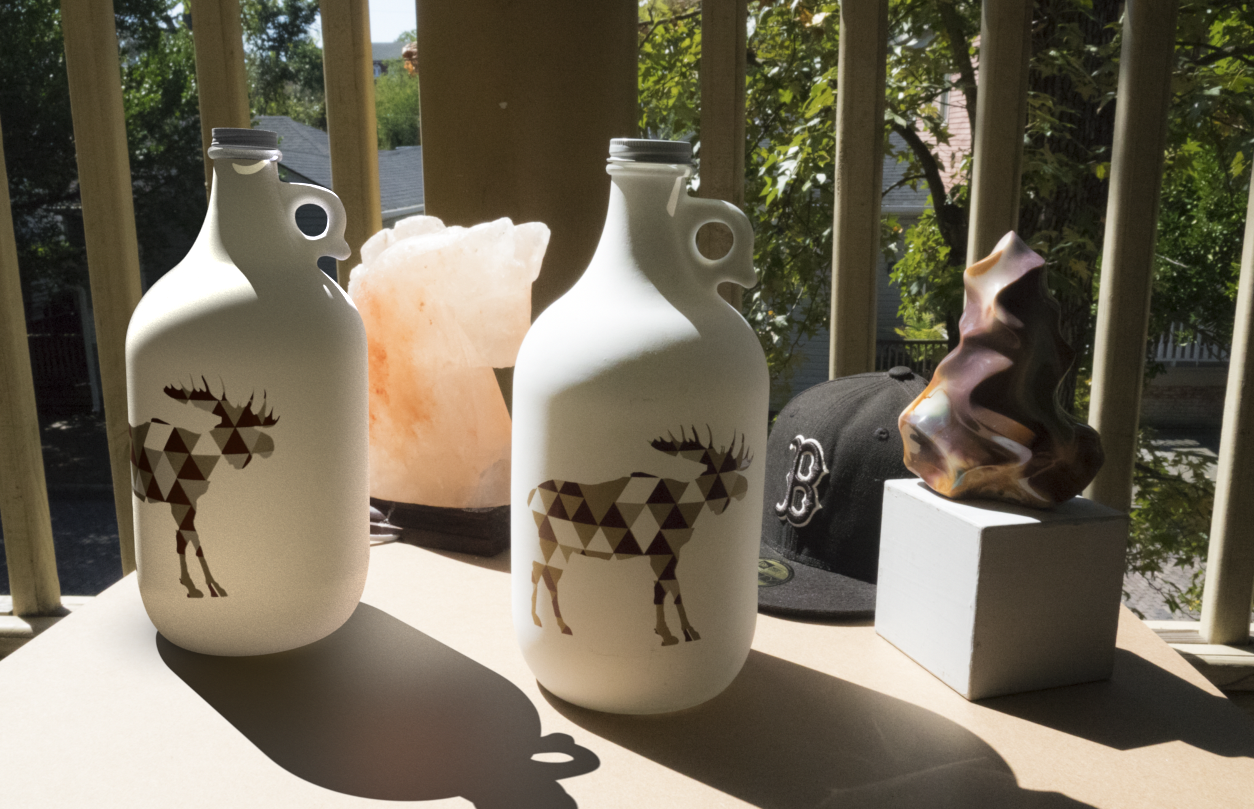
So before I could do anything else I had to make my scene. I decided to use object from around my room to make the project a bit more personal to me.
I shot my objects in both indoor and outdoor lighting settings, but I chose outdoor because I was getting better contrast.
Latest Posts