Nov 01, 2019
3D Printing ?
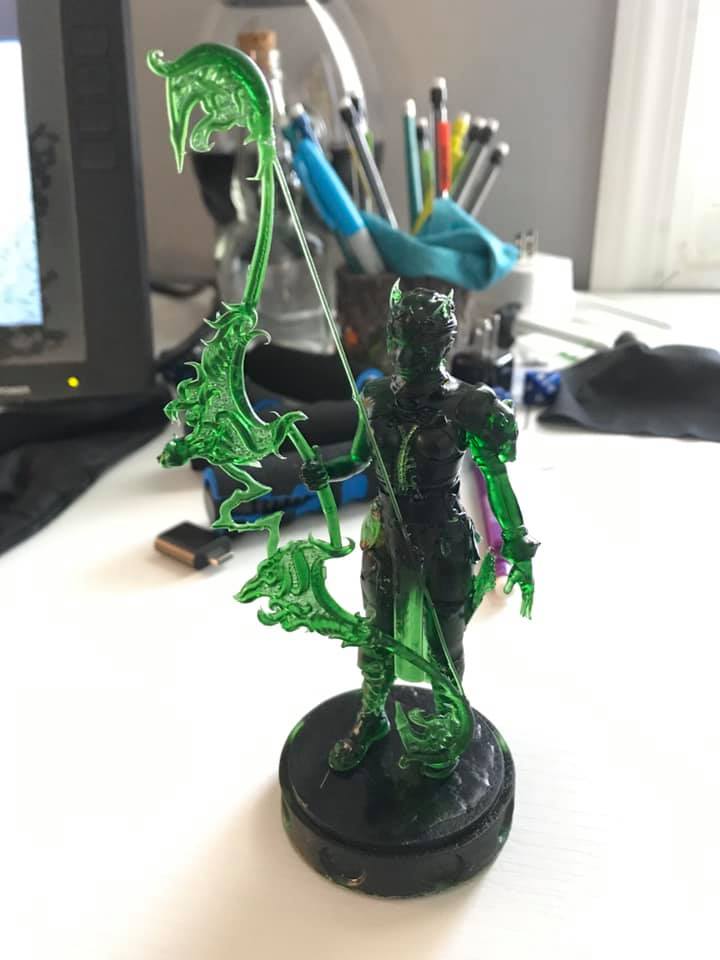
Now the I finally had some spare income, I decided to purchase a 3d Printer! I purchased the Photon S on amazon during a promotion Amazon was having and I can only saw WOW. I love the fine quality of detail this printer can produce. While it can get a bit smelly at times, this printer has the ability to keep very fine details of a model, provided they have the proper supports built in. In thew coming weeks, I hope to have a new post added that showed the process that shows what I had to go through to attain the model below.
Nov 20, 2018
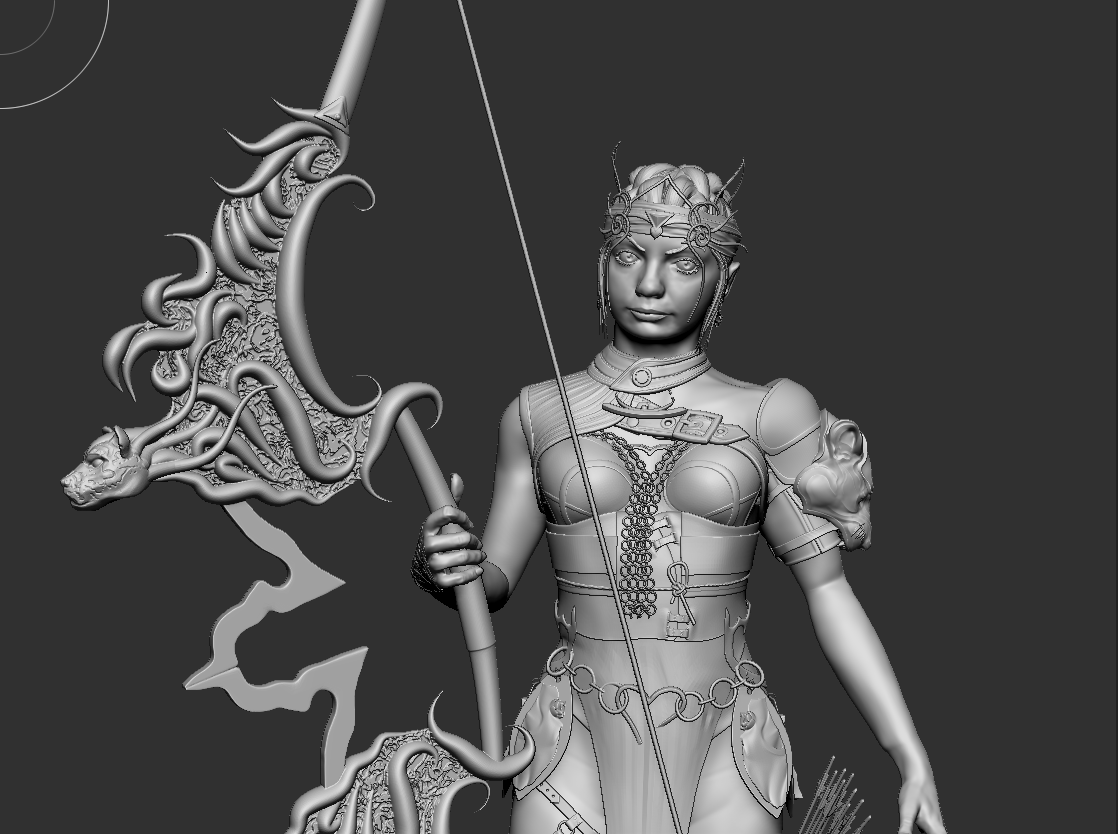
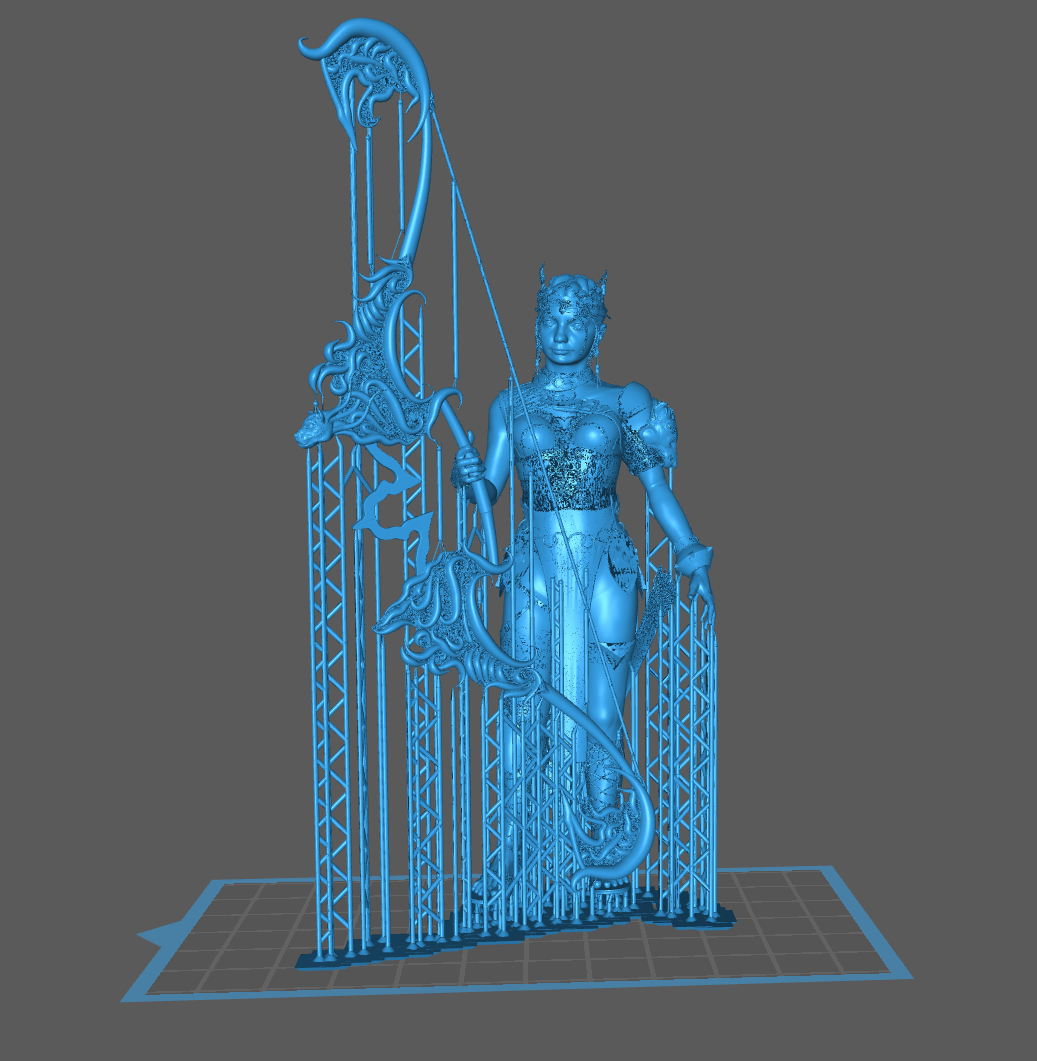
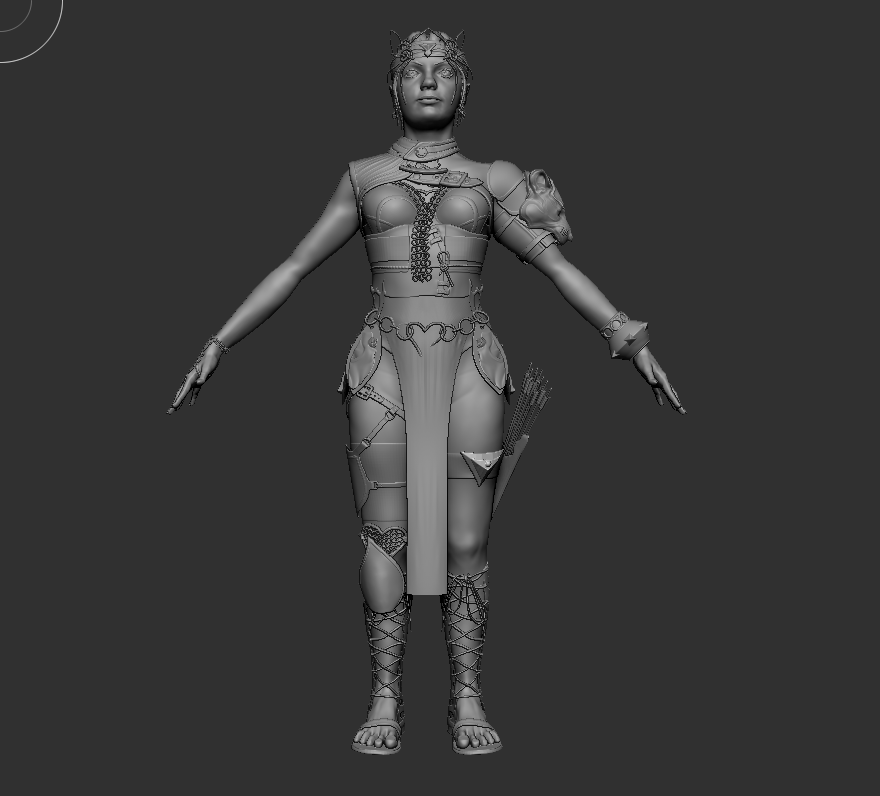
Finished Sculpt Version 1
This is the finished sculpt that was imported into Houdini to be used in my thesis, before adding my procedural rock texturing
Nov 05, 2018
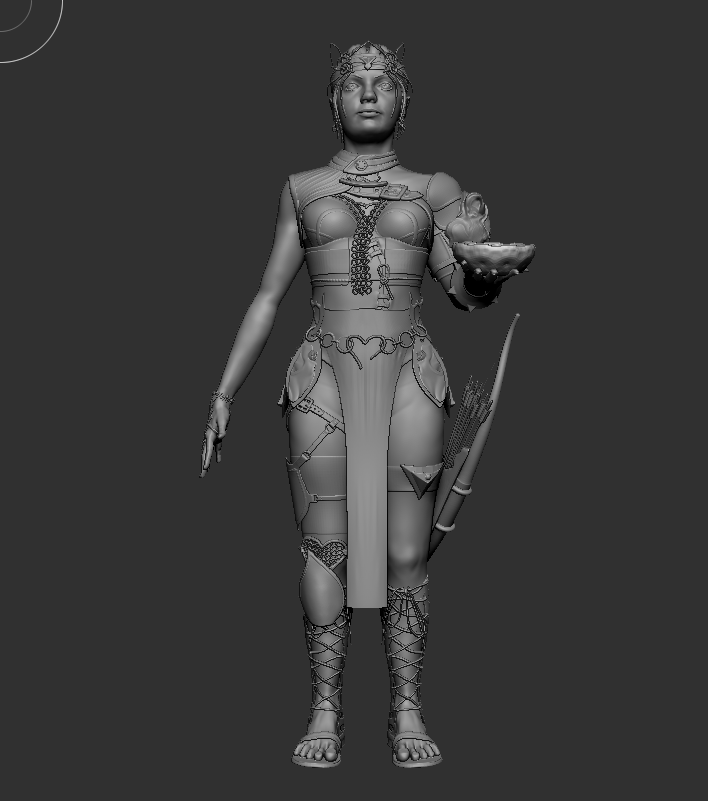
Zbrush Zbrush Zbrush
Now that I had the head mesh it was time to sculpt.. this is the raw mesh data the was imported into Z brush
Oct 30, 2018
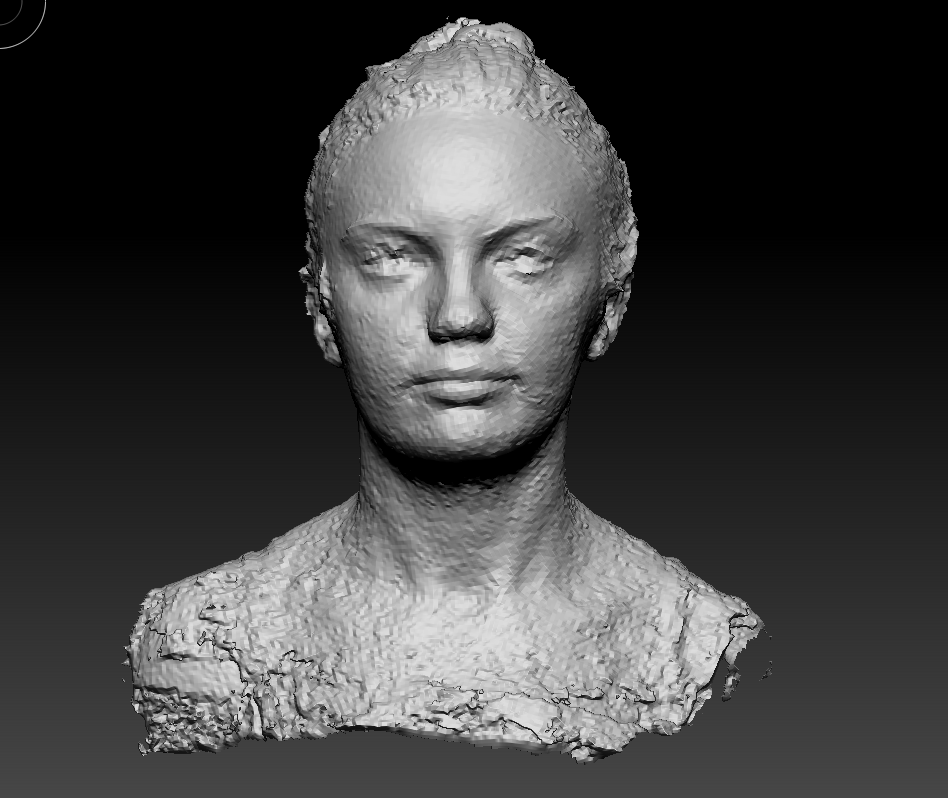
PhotoScan
My girlfriend Jenna volunteered ...(volentold) to be my test subject for this attempt.
I took 4 sets of photos for this try
1 under her chin
1 angled upward from her chin
1 directly at her face
1 above looking down
In photo-scan these were the settings I used
I am in no means an expert but these setting seems to work fine for me and did not take days to compute
Align Photos
Accuracy [High], Key
Point Limit [90,000], Tie point limit[0]
Build Dense Cloud
Quality [Ultra High],
Depth filtering [Aggressive]
Built Mesh
Surface type
[Arbitrary 3d],
Source Data[Dense Cloud],
Face Count[High]

Oct 20, 2018
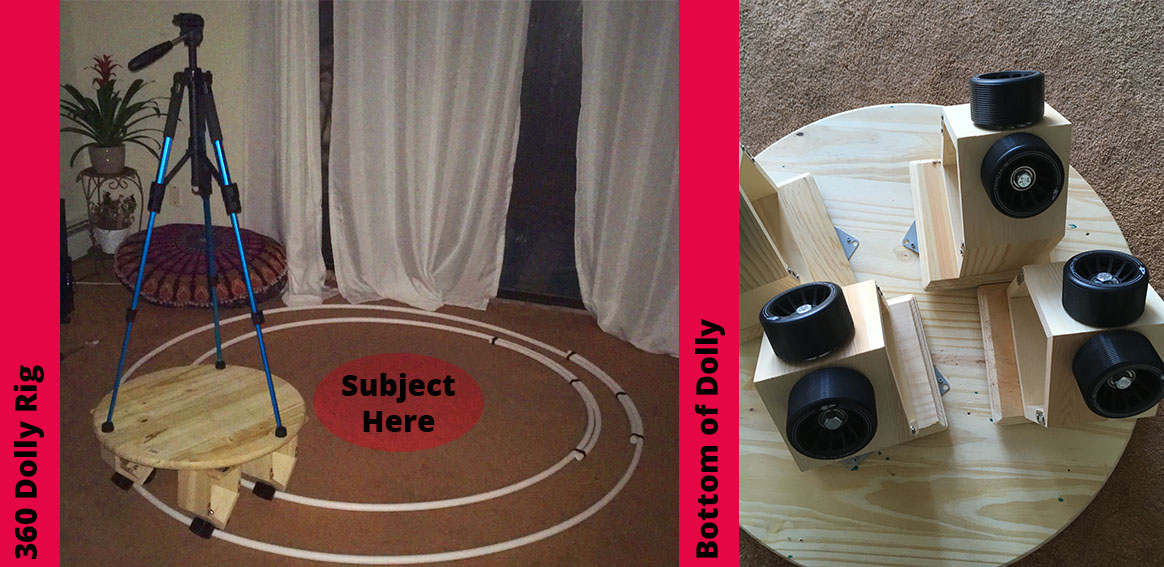
Build the Rig
With 100 Percent Honesty, this blog is being written about a year after I have created the 3D scan, I'll try my best to remember everything as it was and some of this is gonna be copied and pasted from my MFA thesis paper. :)
I did several different experiments to see what would be the best result for scanning a head. At first I bough a computer screen Lazy Susan and had the subject stand on it. I added a green screen behind them and rotated the subject 10 degrees for each photo, taking photos at various heights. Then keyed out the green screen and used that key as a mask, to be imported as a separate file into PhotoScan.
While this works......it takes a while to edit the photos. So instead I decided to build a rig that took up the entirely of my living room to rotate around my subject removing the need for a green screen.
Going to youtube I viewed a few tutorials as to how to create a 360 camera rig.
Just about everything you would need can be found at home depot or Loews, besides the wheels that I needed to order on amazon
But for around $60 Dollars
1 round piece of wood
4 angled wood
4 wood blocks
wheels X 8
PBC piping
Valcro for the tripod if you would like